

Have you ever opened the crawl space door and noticed damp ground, old insulation, and maybe even some standing water? You know something needs to be done, but where do you start?
A plastic liner can help with ground moisture, but what about the water and old insulation? And how do you keep the space dry afterwards?
Well, that’s what we’ll cover in this guide. We’ll go through the main parts of a crawl space encapsulation system, what each one does, and when extra work might be needed.
TL;DR
- Encapsulation combines a sealed moisture barrier with outside-air treatment and a humidity-control plan.
- Inspection determines preparation needs and whether water problems require separate repairs.
- Compare liner specifications and check how seams connect to walls and supports.
- Insulation placement depends on the enclosure design and existing conditions.
- Humidity control needs monitoring. Equipment also needs maintenance and reliable condensate drainage.
- General costs range from 5,000-15,000. Your quote should identify separately priced work.
- Suitability and lifespan vary. Encapsulation cannot guarantee resale gains or prevent returning moisture.
- Ask for a written scope and completion records before you approve the work.
- Schedule Atticrawl’s free assessment.
What Is Crawl Space Encapsulation?
Crawl space encapsulation turns the space beneath your home into a controlled enclosure. It combines a sealed ground moisture barrier with treatment of outside-air openings and a suitable way to control humidity.
A basic ground cover limits moisture that rises from exposed soil. Full encapsulation also addresses how the enclosure connects to walls and supports, and how conditions inside it will be managed.
So, the proposed work should describe the complete arrangement. A material name alone leaves important decisions unanswered.
For a closer look at crawl space encapsulation, check the video below:
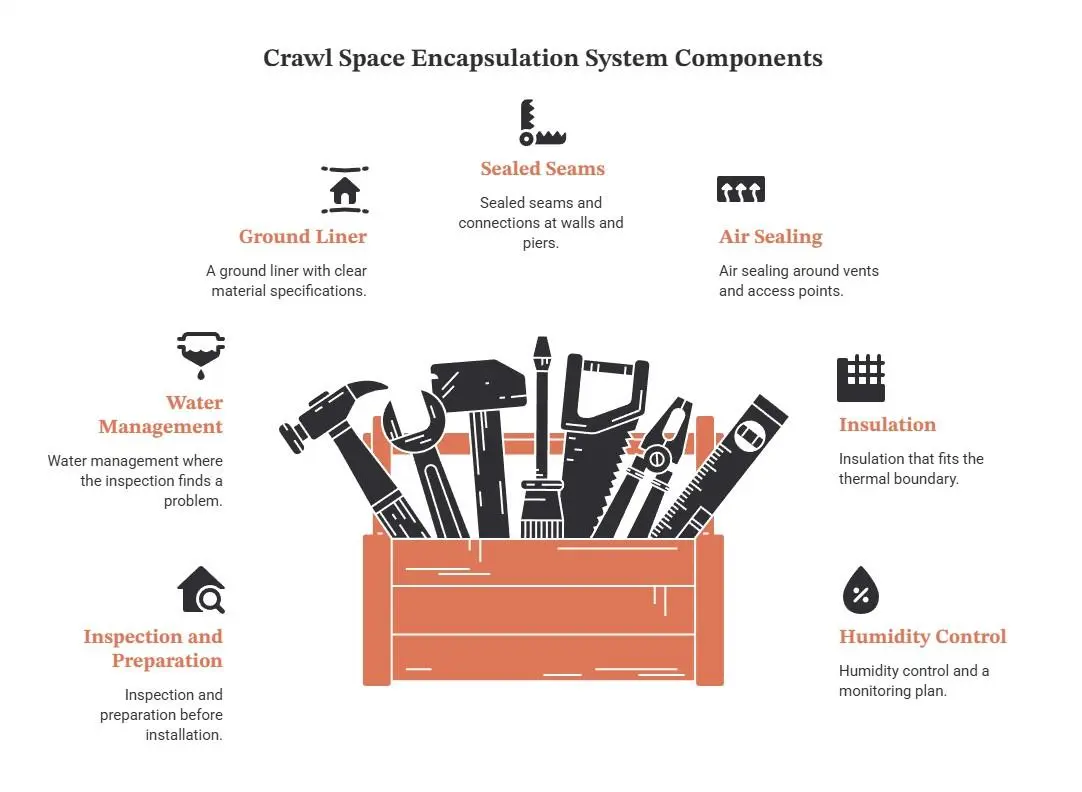
What a Crawl Space Encapsulation System Includes
The enclosure and humidity plan are central to the installation. Preparation, drainage, and insulation depend on what the inspection finds, so the scope can vary between homes.
Here are the seven parts to review.
1. Inspection and Preparation Before Installation
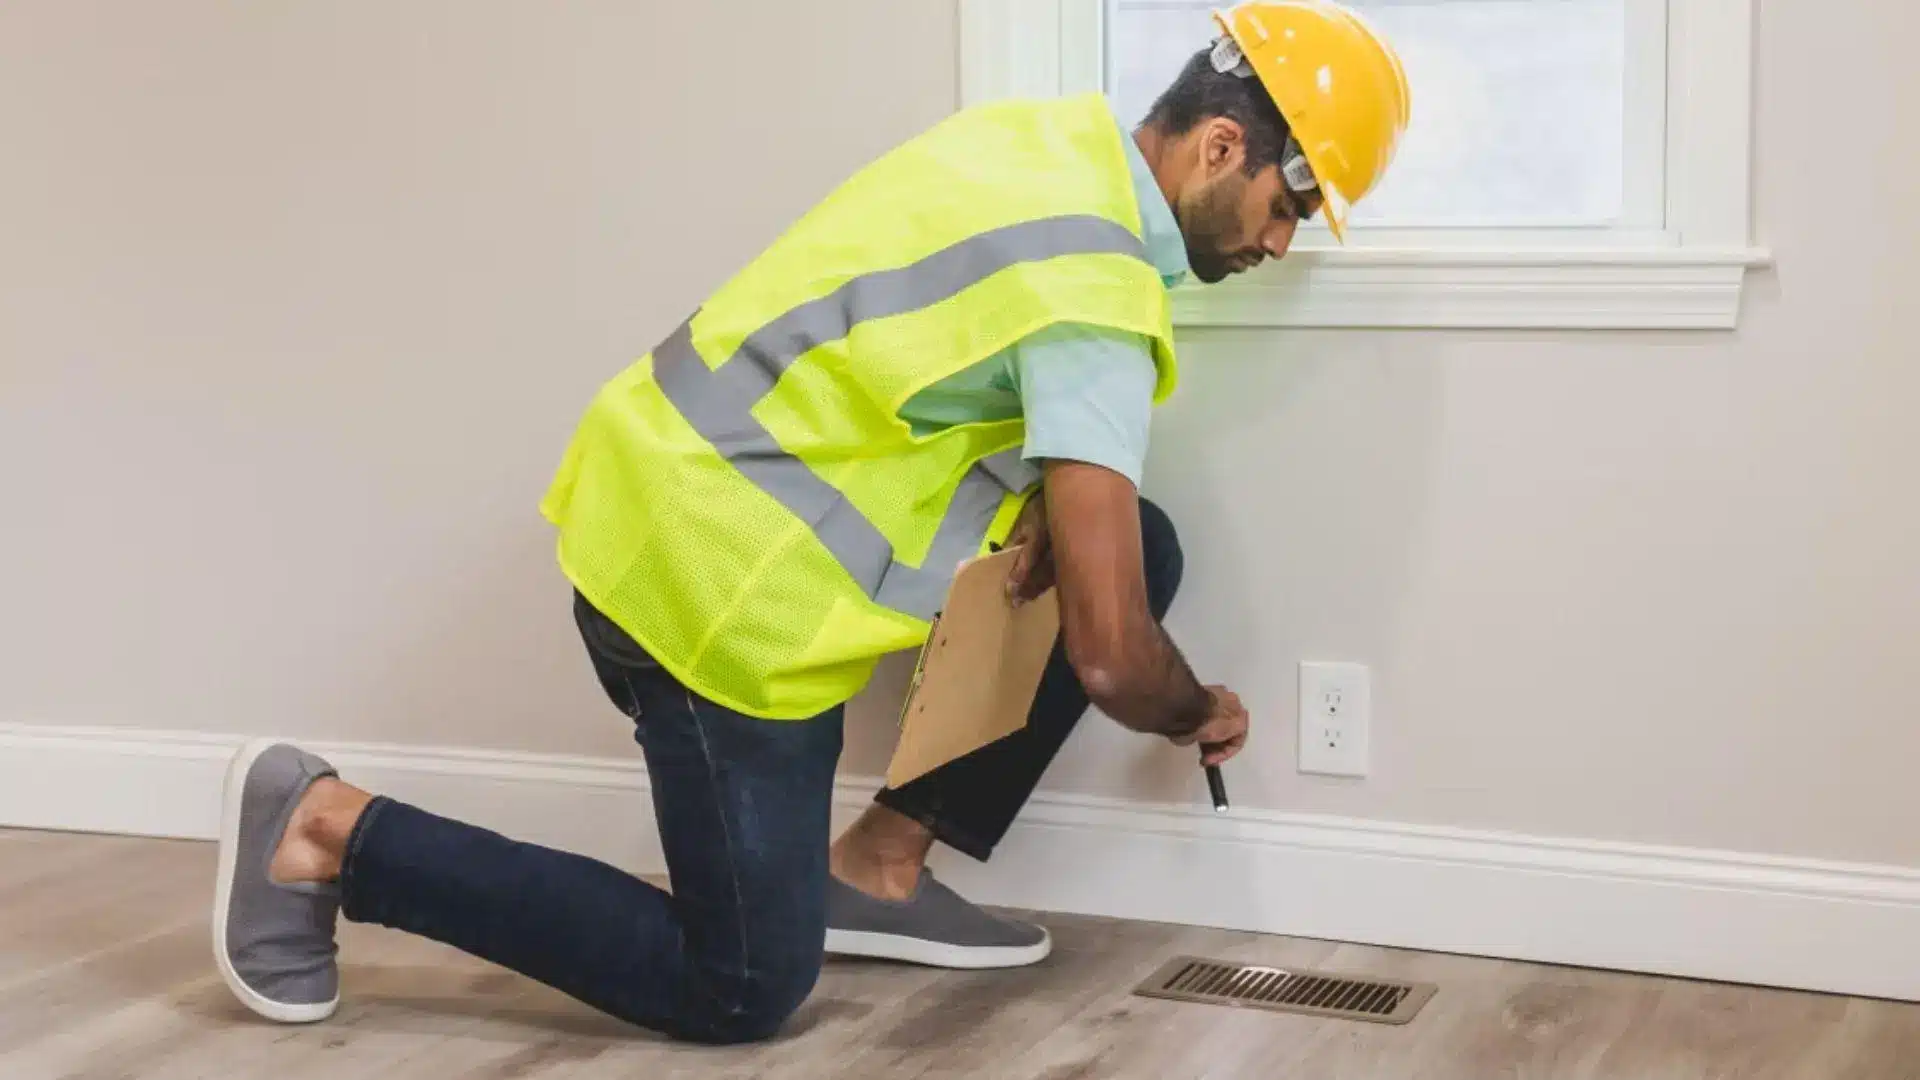
Before anything gets covered, the contractor should assess the insulation and framing, check for animal contamination, and identify debris that needs removal. Photos of the existing conditions help you understand the recommendation.
Ordinary cleanup removes rubbish. Sanitation addresses contaminated surfaces, while specialist remediation may be needed for problems such as mold. Affected insulation may also need removal and proper disposal before installation begins.
Our guide to choosing an insulation removal contractor explains what to check when that work becomes part of your proposed installation project.
2. Water Management Where the Inspection Finds a Problem
Moisture vapour rises from soil. Standing or flowing water needs a separate plan because a ground liner cannot fix the source.
During the inspection, the contractor should check for plumbing leaks and look at how rainwater drains around your home. Water may collect near the foundation if the ground slopes towards it or downspouts discharge too close.
A drainage system or sump may be needed. If so, your quote should explain where the water will go and who will handle the work.
3. A Ground Liner With Clear Material Specifications
The ground liner should cover exposed soil throughout the space. Its specifications should describe thickness, reinforcement, and resistance to moisture vapour.
These properties do different jobs. Reinforcement can improve resistance to damage, while permeance measures how readily vapour passes through the material. Lower permeance means less vapour transmission.
The DOE’s June 2024 job aid specifies a minimum 6-mil ground barrier with a rating of 0.1 perm or less. Access and expected wear also matter when you compare crawl space encapsulation materials.
At Atticrawl, we use 20-mil liners. We recommend checking puncture resistance wherever workers need regular access.
4. Sealed Seams and Connections at Walls and Piers
Separate sheets need sealed connections to form a continuous barrier. The installation should specify compatible tape or sealant, secure attachments, and sealed fasteners around walls and supports.
The same DOE job aid calls for overlaps of at least 12 inches and securely attached liners extending at least 6 inches up walls, piers, and columns.
That attachment benchmark does not set universal full-height wall coverage. The planned assembly and applicable requirements determine the treatment.
Ask for an annotated close-up that shows the overlap, attachment, and sealed edge.
5. Air Sealing Around Vents and Access Points
Air sealing limits outside air entering through vents and gaps around pipes or cables. The access door also needs attention, though it must remain accessible for future plumbing and HVAC repairs.
Any planned mechanical airflow needs its own route. Fuel-burning equipment may need combustion air, and soil-gas concerns can affect the design. Required flood openings also need separate consideration.
We recommend asking how these conditions were assessed before work begins. A liner alone does not provide a complete radon mitigation system.
6. Insulation That Fits the Thermal Boundary
The thermal boundary is the set of surfaces that separates controlled indoor conditions from outside conditions. Its location helps determine where insulation belongs.
Your crawl space insulation options depend on the enclosure design, climate, and applicable code. Wall insulation and treatment at the rim joists may be relevant. Before we recommend crawl space encapsulation insulation, we assess the condition of existing material.
Our guide explains when damaged insulation needs replacement.
7. Humidity Control and a Monitoring Plan
The enclosure needs a suitable drying or conditioning approach. A dedicated dehumidifier is one option, and your proposal should identify the approach intended for your space.
If a dehumidifier is specified, check its sizing, power supply, continuous condensate drainage, and service access. The water it collects needs a reliable discharge route.
EPA’s 2024 Indoor AirPlus criteria require applicable supplemental crawl space dehumidifiers to maintain relative humidity at or below 60%, with continuous drainage. This is a voluntary certification benchmark with climate and system conditions.
Then agree on humidity monitoring and follow the manufacturer’s maintenance instructions. Keep readings so you can spot changes over time.
Pro tip: Check our guide that covers crawl space encapsulation risks and maintenance needs.
Evidence to Request With the Installation Scope
Written records help you compare crawl space encapsulation contractors on the same basis. They also make differences between proposed crawl space encapsulation systems easier to see.
These are the records to request.
| Item to Request | What It Should Show |
| Product information | Specified liner and insulation details |
| Scope drawing | Areas covered and access retained |
| Responsibility list | Included work and separately assigned repairs |
| Completion record | Installation photos and recorded checks |
| Handover information | Equipment instructions and service contacts |
Keep these records together so you can refer to them during later repairs or equipment servicing.
How Atticrawl Can Help Plan the Work Your Home Needs
At Atticrawl, we help homeowners across New Jersey and Eastern Pennsylvania understand the work their crawl space needs. Our free home visit gives us a chance to assess existing conditions and explain the proposed approach.
Our crawl space encapsulation services can form part of that plan. If the assessment finds other problems, we can explain the related services available and how they affect your quote.
You should leave that conversation with a clear understanding of what the estimate includes and which issues require separate attention. We recommend reviewing those details before you approve the job, so you know what to expect when work begins.
To discuss what your home needs, schedule a free home visit with our team
FAQs
How Much Does Crawl Space Encapsulation Cost?
Our educational guide cites a 5,000-15,000 national range for professional work. We price your actual project after an inspection.
What Are 5 Crawl Space Encapsulation Mistakes?
- Leaving contractor credentials unchecked.
- Leaving permit responsibility unclear.
- Paying the full price upfront.
- Accepting verbal change orders.
- Skipping warranty exclusions.
Is Crawl Space Encapsulation Tax Deductible?
Personal home improvement costs generally are not deductible and may affect tax basis. Separately, the federal 25C credit ended for property placed in service after December 31, 2025, under IRS guidance.
What Are the Negatives to Crawl Space Encapsulation?
Drawbacks include upfront expense, equipment running costs, and possible resealing after future repairs that disturb the installed barrier or connections.
How Much Does It Cost to Encapsulate a 1,000-Square-Foot Crawl Space?
For illustration, a hypothetical $6-per-square-foot quote totals $6,000 before separately priced additional work. That calculation is separate from Atticrawl’s pricing.
Can Mold Grow in an Encapsulated Crawl Space?
Yes, mold can grow if moisture remains or returns. Encapsulation does not make the space immune to mold.



Recent Comments