


You add insulation to improve comfort, then find that the extra depth has buried a ventilation chute near the roof edge. That small detail can leave the intake restricted even though the attic looks freshly finished.
Before you fit baffles for attic ventilation, it helps to understand where installation goes wrong and what you should check before the work disappears beneath new material.
TL;DR
- Baffles keep soffit intake paths clear of insulation.
- Use them where insulation could block ventilation in a vented attic.
- Match placement to intake openings and quantities to channel lengths.
- Choose compatible materials and follow product instructions for clearance and fastening.
- Keep outlets above finished insulation and prevent loose material from entering soffits.
- Seal household air leaks without blocking ventilation.
- Restore insulation carefully, then photograph and inspect the completed work.
- Access, labor, and preparation affect cost.
- Get professional help for contamination, damaged wiring, or inaccessible eaves.
- Atticrawl offers free home visits and estimates for homeowners across New Jersey and Eastern Pennsylvania.
What Are Attic Baffles and How Do They Work?
Attic ventilation baffles preserve a route from working soffit intake openings past the insulation and into the attic. These channels sit between roof framing near the eaves, where the roof meets the exterior wall.
You may also see them called insulation baffles or rafter vents. The soffit vent supplies the outdoor opening, while the chute protects the passage inside. An insulation dam holds material beneath that passage, and some products combine both features.
Our guide to what attic baffles do explains their wider role if you want more background before planning the work.
Choose a Material That Suits the Attic Conditions
Attic insulation baffles need enough rigidity to hold their intended form under the expected installation conditions. Material alone cannot establish whether a product suits your project.
Here are the practical differences to check:
| Material | Practical Consideration | What to Check |
| Foam attic baffles | Can be damaged or deformed during fitting | Handling instructions and resistance to pressure |
| Cardboard attic baffles | Exposure conditions affect suitability | Moisture limitations and fastening details |
| Plastic attic baffles | Stiffness varies between products | Dimensions and attachment requirements |
We recommend choosing the best attic baffles for the actual application. Compare the installation instructions with the attic conditions before buying, and address existing dampness separately.
How to Install Baffles for Attic Ventilation and Avoid Common Mistakes
The following sequence applies to a soffit-vented attic. Before installing attic baffles, check the product instructions against the actual roof assembly because attachment and clearance details vary.
Here are the five steps to follow.
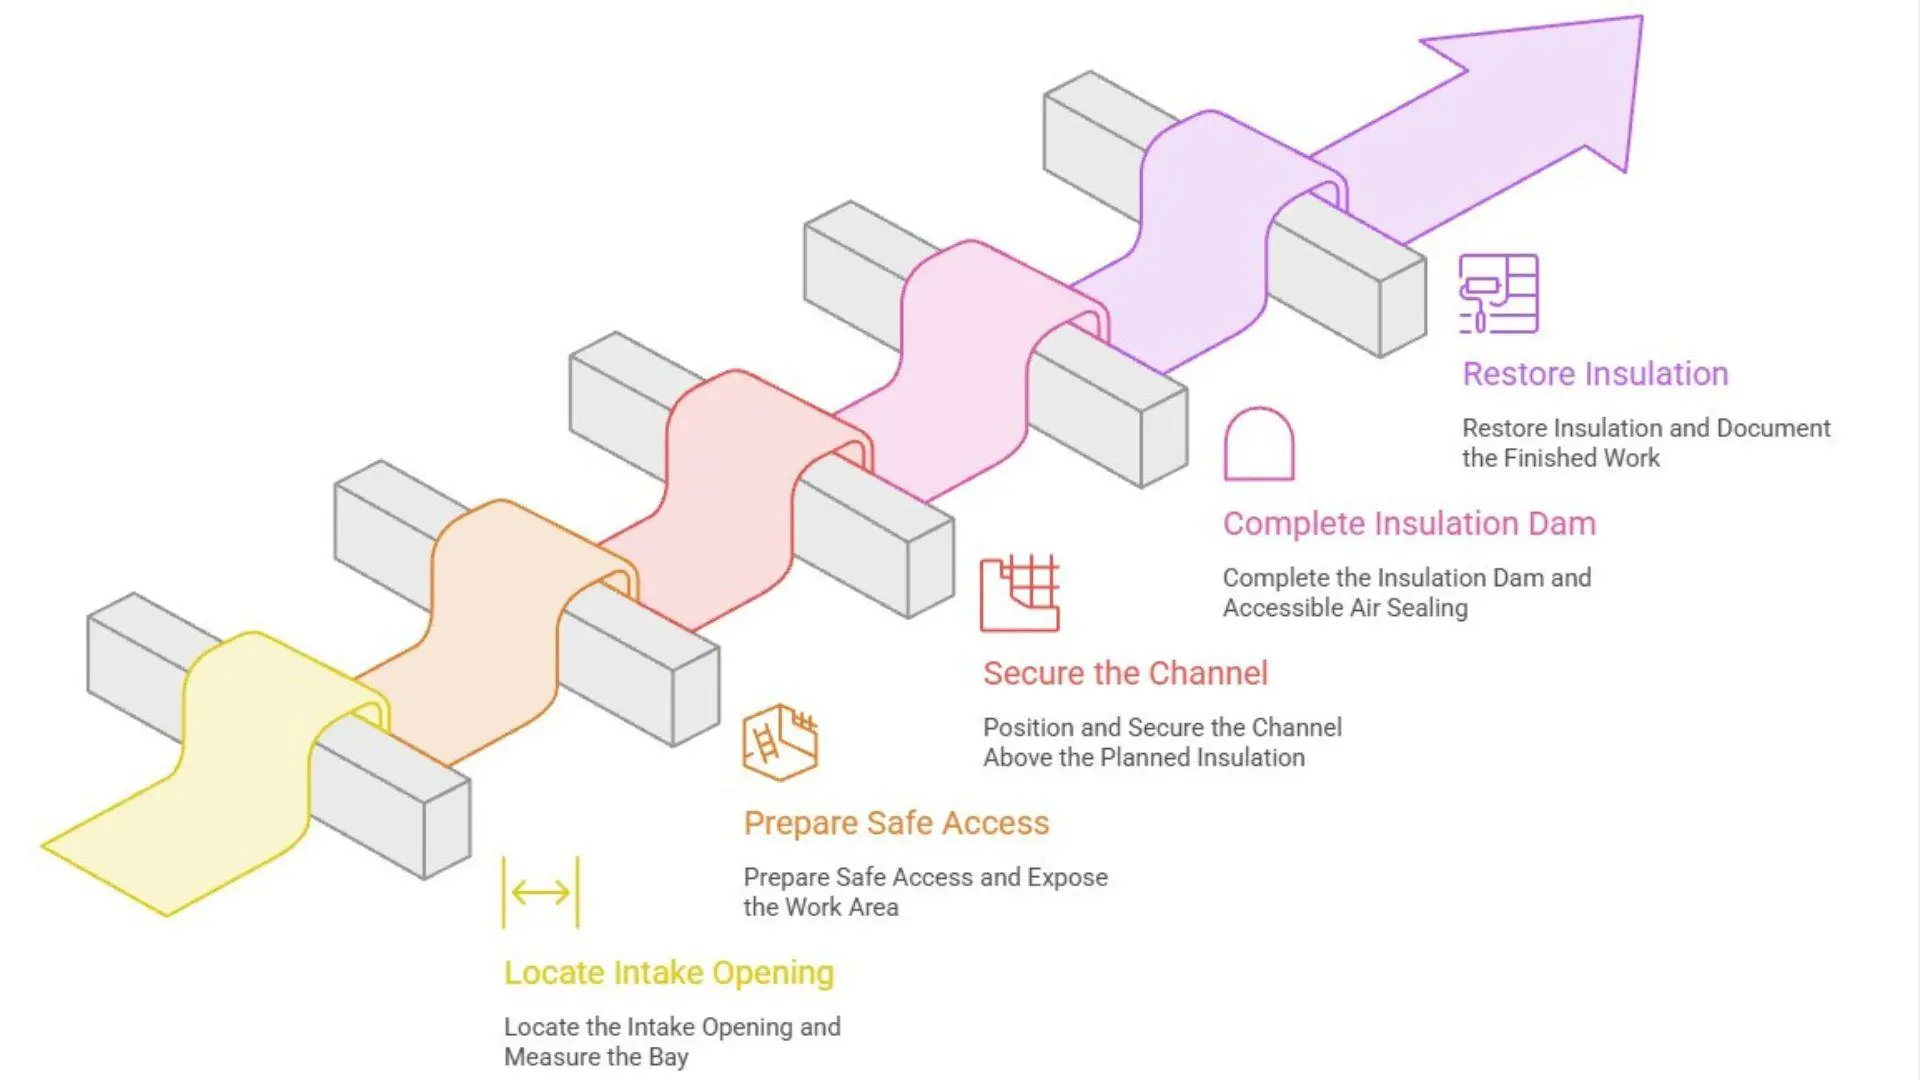
1. Locate the Intake Opening and Measure the Bay
First, establish where outdoor air enters. Soffit baffles need a clear connection to that opening, so check behind the vent cover for solid material or misplaced insulation.
Then measure the clear space between framing members. PNNL’s 2022 guidance describes products for framing spaced 16 or 24 inches on center, but that measurement runs between framing centers. It differs from the clear bay width.
Our explanation of how baffles and soffit vents work together helps you trace the route. Choose attic baffles for soffit vents only after confirming both the opening and the fit.

2. Prepare Safe Access and Expose the Work Area
Planning access is part of any attic baffles installation. Before you begin, establish supported footing across suitable framing and provide enough light to see the eaves. Ceiling drywall cannot support your weight.
For ordinary insulation dust, use suitable respiratory protection. Gloves and protective clothing help limit skin contact, while eye protection keeps dust out of your eyes.
If existing insulation is clean and safe to handle, you can carefully move it aside to expose the work area. Complete removal is not automatic.
However, stop if material looks contaminated or you cannot identify it. Damaged wiring or eaves you cannot safely reach also call for professional assessment.
P.S Our attic insulation removal and replacement process explains the broader work that damaged materials may require.
3. Position and Secure the Channel Above the Planned Insulation
Follow the manufacturer’s orientation and fastening instructions so the lower end connects with the intake route. The outlet must remain above the planned insulation surface.
DOE’s June 2024 preparation checklist calls for at least 1 inch between the roof deck and soffit baffle. That is the checklist’s minimum clearance. The product’s designed channel depth may be greater.
Outlet extension is another measurement. DOE’s Comprehensive Attic Package checklist specifies a path extending at least 6 inches above the insulation. Apply the requirements for your product and assembly because other specifications can differ.
As you secure the chute, preserve that space throughout its length. A crushed middle section restricts the passage, while loose attachment can let it sag. Hanging a piece on projecting roofing nails provides no reliable substitute for proper fastening.
4. Complete the Insulation Dam and Accessible Air Sealing
Next, fit a compatible insulation dam or complete the product’s integrated wind-block detail. With attic baffles for blown-in insulation, containment matters because loose material can spill into the soffit area beneath the chute.
While the area is exposed, address accessible household air leaks with appropriate materials. Our attic air-gap sealing service covers gaps associated with pipes, wires, and light fixtures.
We recommend treating containment and air sealing as separate checks. Loosely packed fibrous insulation can hold material back in some details, but it does not provide an airtight seal.
Keep blocking and sealant clear of the ventilation passage. Details near flues or other heat-producing components need the relevant clearances and suitable materials, with qualified professional input where required.
5. Restore Insulation and Document the Finished Work
Now restore the intended insulation coverage without pressing material into the chute. Check again afterward because moving or blowing insulation can displace a previously secure piece.
Look for firm attachment and effective containment, then trace the visible route from intake to outlet. We recommend photographs before the lower connection becomes concealed and after completion. Comparable angles make changes easier to assess.
A close-up might show that the dam holds insulation beneath the channel. A wider photograph can show that the outlet remains exposed.
Those records help explain the finished detail, though they cannot establish whole-attic ventilation performance. The upper exhaust arrangement and other restrictions still need consideration when assessing the complete system.
How Atticrawl Can Help Plan Your Attic Insulation Work
At Atticrawl, we can assess your attic insulation project and discuss baffle condition or soffit-clearance concerns during a free home visit. We help homeowners across New Jersey and Eastern Pennsylvania. Our assessment can help when access is difficult or existing materials are damaged.
Our professional attic insulation installation service starts with reviewing the space and planning suitable work. Depending on the findings, preparation may involve removal of old material and cleanup. We can also address air gaps where needed.
Bring up any unclear details in your estimate. You can ask which areas need attention, what preparation is included, and how the proposed insulation will fit around necessary ventilation clearances. That gives you a clearer basis for deciding what to approve.
To discuss your attic and request an estimate, schedule a free home visit.
FAQs
Are Baffles Necessary in Every Attic?
No. Baffles are needed where insulation could block a soffit intake path. Properly designed unvented attics follow different requirements. We recommend confirming your attic’s design before adding channels.
Does Every Rafter Bay Need a Baffle?
The layout depends on where intake air enters. Continuous soffit ventilation generally requires channels across the vented bays, while individual openings need placement that matches their locations. Avoid automatically skipping alternate bays.
How Many Pieces Should You Buy?
Count the required channels, then check how many pieces each channel needs. Product length and approved overlaps affect the total. The attic floor area alone cannot determine the quantity.
What Affects the Installation Cost?
Access and labor have a major effect on attic baffles installation cost. Materials and preparation also affect the total. Ask for an itemized quote that explains the included work and how unexpected repairs would be charged.



Recent Comments