


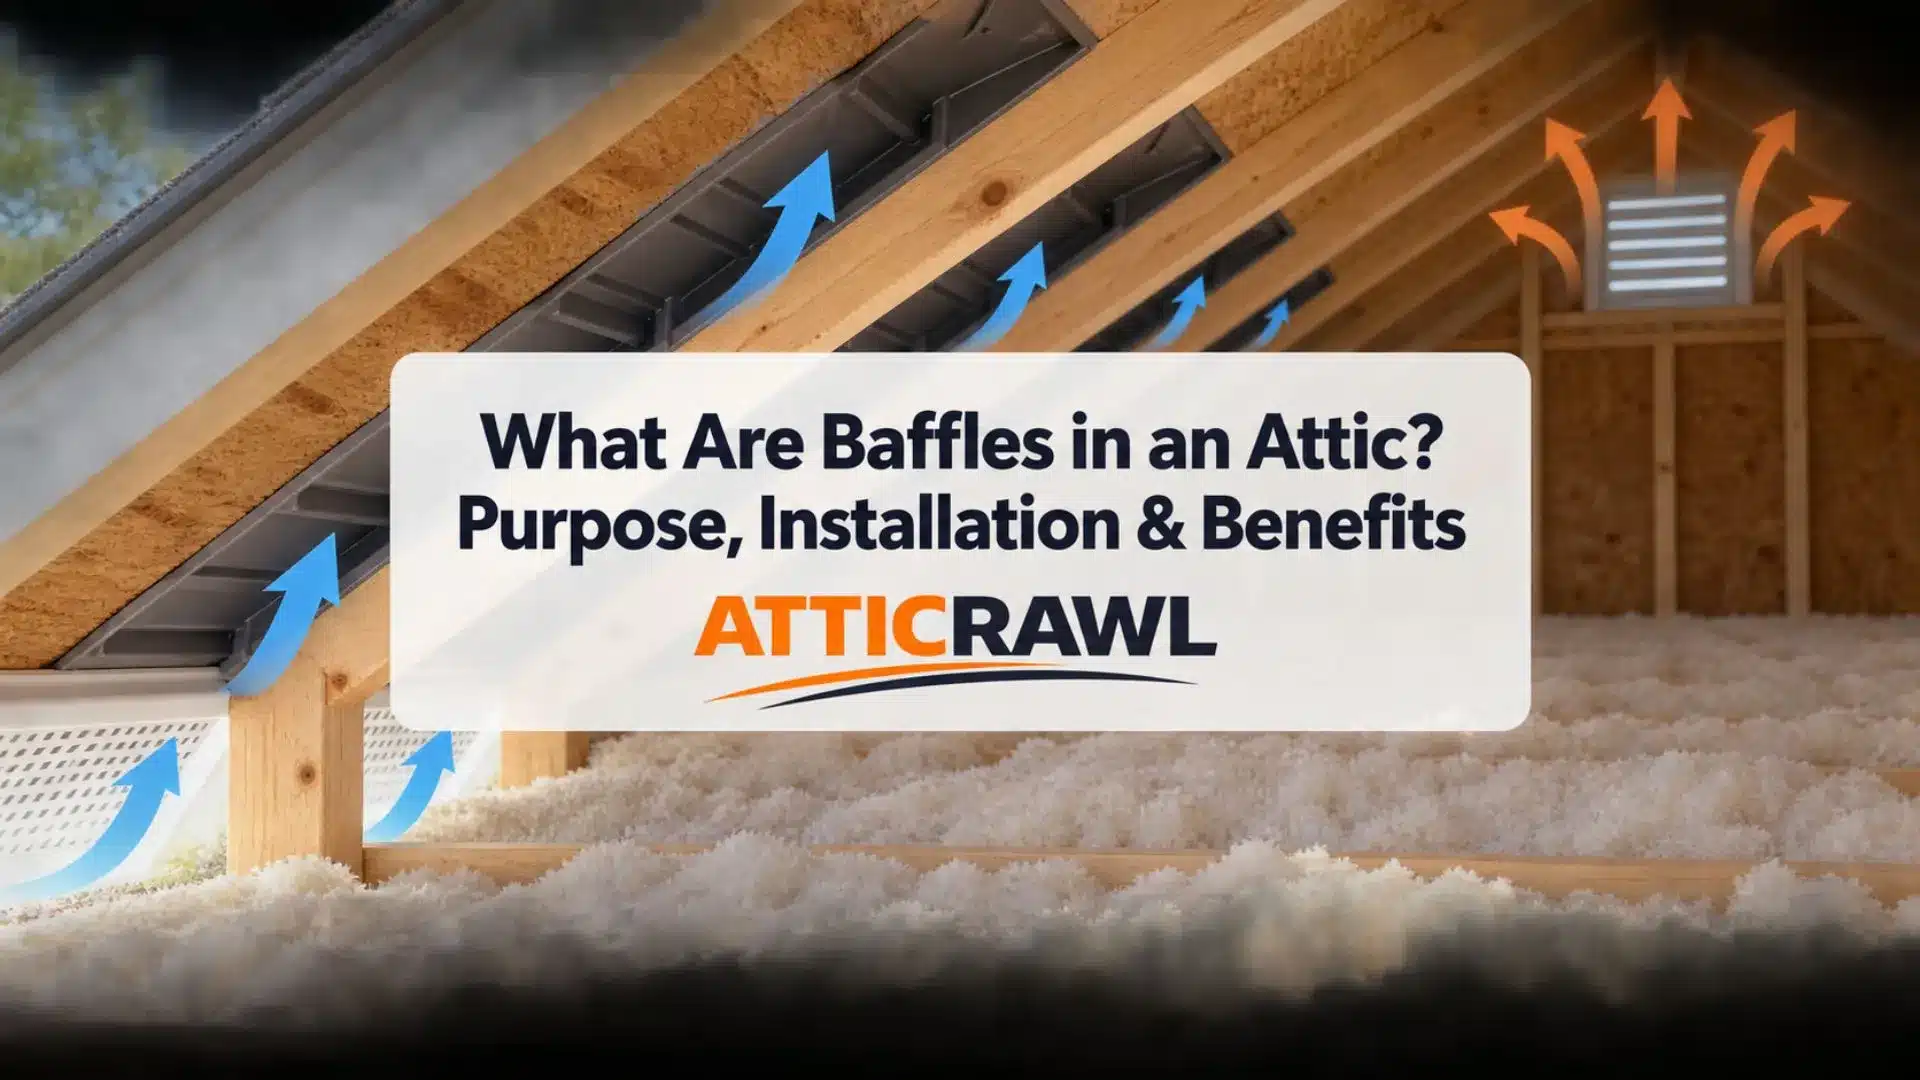
You’re reading an insulation estimate and notice a line for baffles. Or perhaps you’ve spotted narrow channels beneath the roof edge and wondered what they do. So, what are baffles in an attic?
It’s worth understanding that detail before adding insulation, because the work can change how air moves through the eaves. Today, we’ll explain their purpose, when your attic needs them, and what a sound installation involves so you can make sense of the work proposed for your home.
TL;DR
- Baffles preserve an air passage above insulation near the roof edge.
- They connect existing soffit intake openings with the open attic.
- Insulation dams help contain material and protect coverage at the eaves.
- Clear ventilation supports moisture control and more consistent winter roof temperatures.
- Baffles belong where insulation could block a soffit intake.
- Properly designed unvented roof assemblies follow a different approach.
- Installation requires a compatible product, secure attachment, and an unobstructed channel.
- Existing insulation can often stay if its condition and access allow.
- Labor, preparation, and attic access affect cost.
- Check your attic’s arrangement before choosing products or adding insulation.
What Are Baffles in an Attic?
Attic baffles are channels near the eaves, fitted between roof framing to preserve ventilation space above insulation. You may see these called rafter vents or vent chutes.
Here’s how they help.
Baffles for Attic Ventilation Keep the Intake Path Open
Outdoor air enters through a soffit vent beneath the roof overhang. The baffle gives that air a protected route past the insulation and into the open attic, where it can travel toward exhaust vents higher on the roof.
Each part has a separate job. The soffit vent provides the opening to the outdoors, while the chute preserves the passage inside. If solid soffit material blocks the entrance, an empty baffle has no intake air to carry. That’s why the route needs to connect all the way through.
Attic Baffles for Insulation Protect Coverage at the Eaves
Insulation should cover the attic floor near the exterior walls as well as the center. Thin or bare patches at that perimeter leave an easier route for heat to move through the ceiling.
Incoming air can also move through insulation or push it aside. This is called wind washing. A baffle guides air above the material, while an insulation dam, or wind block, contains insulation beneath the chute and limits sideways air movement.
Some products combine both features. Together, they help preserve coverage where the roof meets the wall.
Clear Ventilation Supports Moisture and Heat Management
An open ventilation path helps the attic release excess heat and moisture. During winter, outdoor airflow also helps keep the roof cold, which can reduce the snowmelt and refreezing associated with ice dams.
That benefit depends on the rest of the attic. A roof leak still needs repair, indoor air leaks need sealing, and a bathroom exhaust duct must discharge outdoors.
We recommend treating baffles, air sealing, and insulation as parts of the same project. Baffles alone cannot guarantee mold prevention, cooler upstairs rooms, or a particular energy saving.
Are Attic Baffles Necessary?
Baffles are needed where insulation could obstruct the intake path in a soffit-vented attic. That condition matters more than whether the insulation looks thick or recently installed.
Loose-fill material can spread into the eaves during installation and shift afterward. Using attic baffles for blown-in insulation helps define a protected passage, with a suitable barrier to contain the loose material. Batts can also obstruct an intake if they’re pushed too far into the roof edge.
A properly designed unvented roof assembly follows a different approach to insulation, air control, and moisture management. Simply finding no soffit vents doesn’t establish that your attic was designed that way. Other ventilation arrangements or missing components may explain what you see.
Before you choose the right attic insulation, establish whether it belongs across the attic floor or along the roof deck. Those locations require different planning, so the ventilation arrangement and insulation system need to be considered together.
Installing Attic Baffles for Insulation
Installation details depend on the product, roof framing, and available access. Check the manufacturer’s instructions against the actual space before starting.
But here’s what you usually need to do:
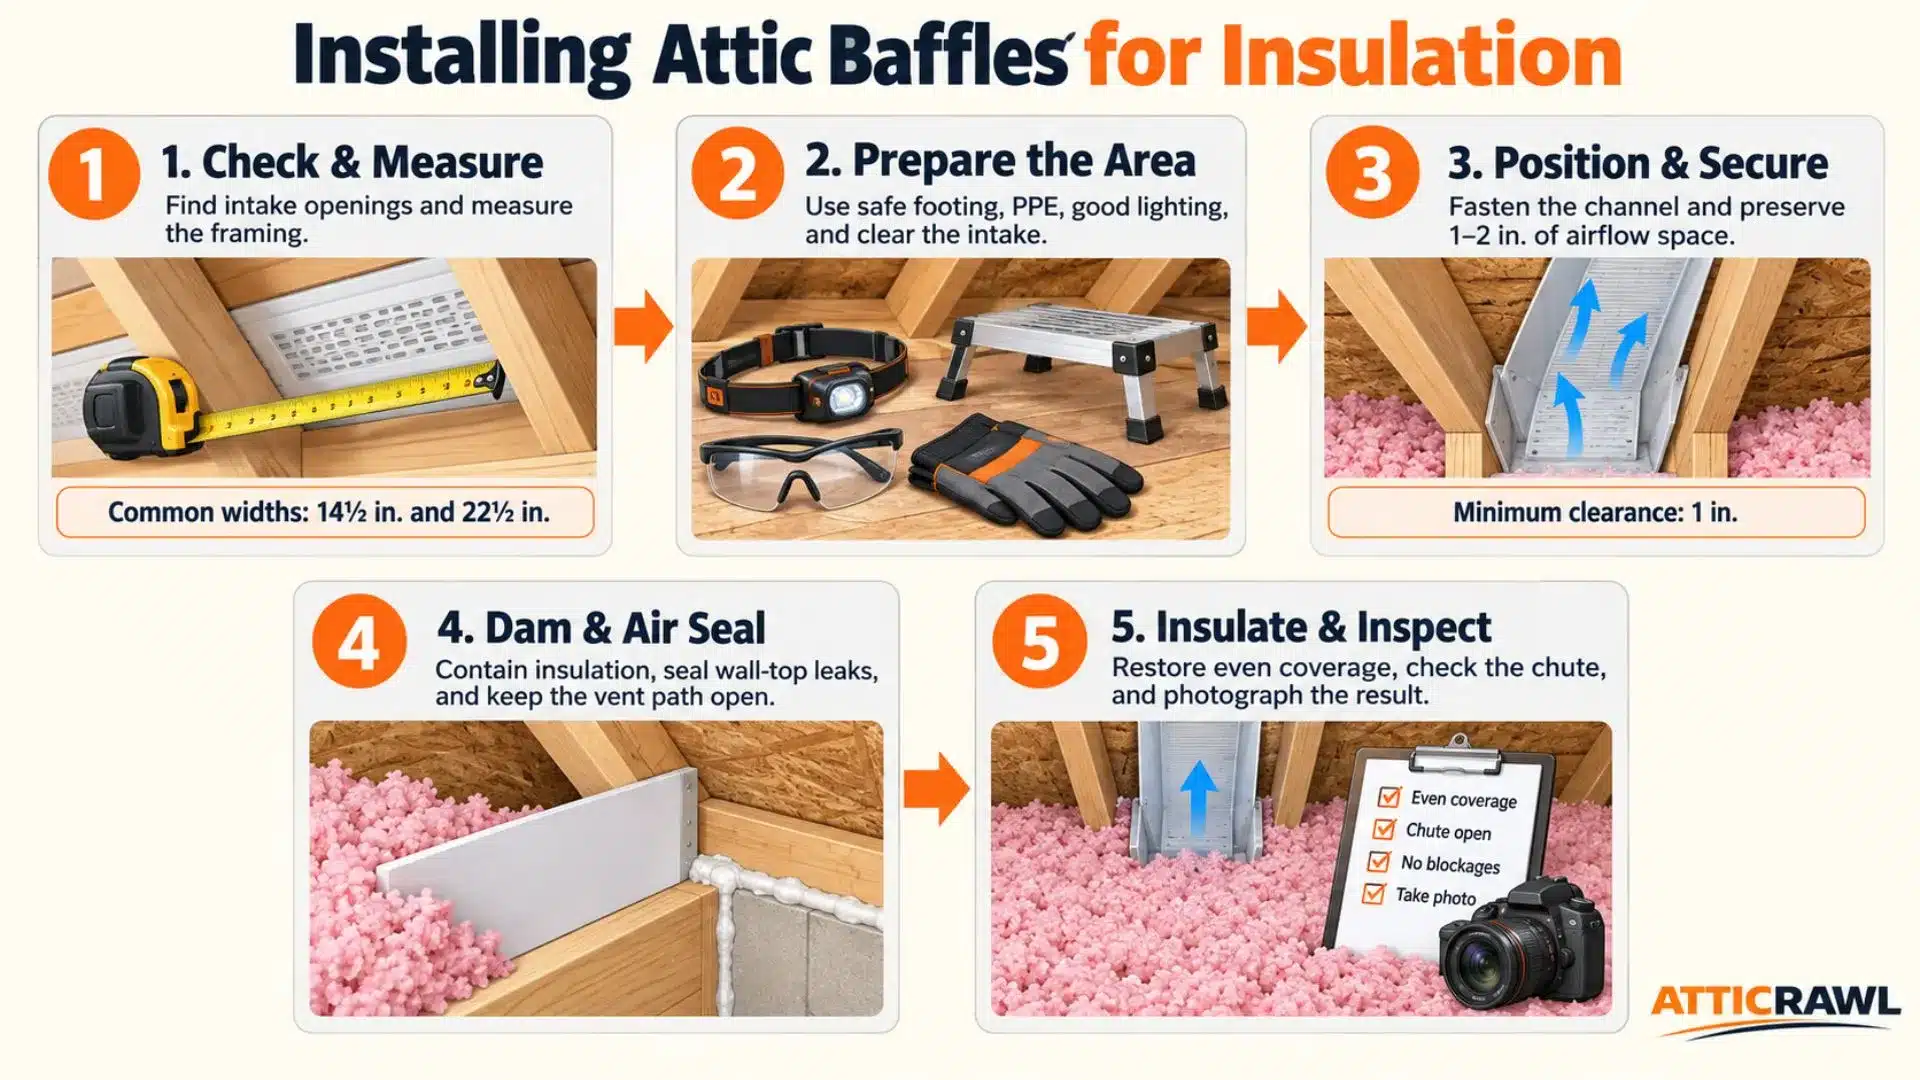
1. Check the Attic Arrangement and Measure the Fit
First, identify the intake openings and where the insulation will sit. Then measure the framing and choose a channel whose width, shape, and attachment points suit the space.
ENERGY STAR lists common rafter-vent widths of 14½ and 22½ inches for different rafter spacings. Those are product examples, but older framing and unusual roof details may need another solution.
2. Prepare the Work Area and Intake
Establish supported footing across suitable framing, with enough light to see your work. Ceiling drywall cannot support your weight. Gloves, eye protection, protective clothing, and suitable respiratory protection help limit exposure to ordinary insulation dust.
Check the intake for debris or misplaced insulation. Contamination, suspect insulation, damaged wiring, or eaves you cannot safely reach call for professional assessment before you disturb materials.
3. Position and Secure the Channel
Follow the manufacturer’s orientation and fastening instructions so the channel remains continuous through the eave. Hanging a chute on protruding roofing nails can leave it unsecured. Check that its edges hold and its shape stays open.
DOE guidance describes 1-2 inches of airflow space between the baffle and roof decking, with a minimum 1-inch clearance in its installation checklist. The minimum clearance and a product’s designed channel depth are different specifications.
Preserve the required space throughout because a crushed section can restrict the whole passage.
4. Complete the Insulation Dam and Air-Sealing Details
Fit a compatible insulation dam beneath the chute, or complete the product’s integrated wind block. Where accessible, address air leaks at the exterior wall’s top plate and its junction with the ceiling.
Use appropriate sealing materials for the surfaces and nearby components. Loosely packed fiberglass allows air through, so it cannot serve as an airtight seal. Keep sealant and blocking clear of the intended ventilation passage.
5. Install Insulation and Check the Finished Work
Restore even insulation coverage without pressing against or deforming the chute. Then inspect the work again, because blowing or moving insulation can displace a channel or fill an opening that was clear earlier. Confirm secure attachment, an open passage, and effective insulation containment.
We recommend taking clear photos before and after the insulation goes in, particularly where the finished material will hide the lower connection. Those photos give you a useful record when reviewing the completed job.
Here’s an interesting video to see how to install baffles in your attic:
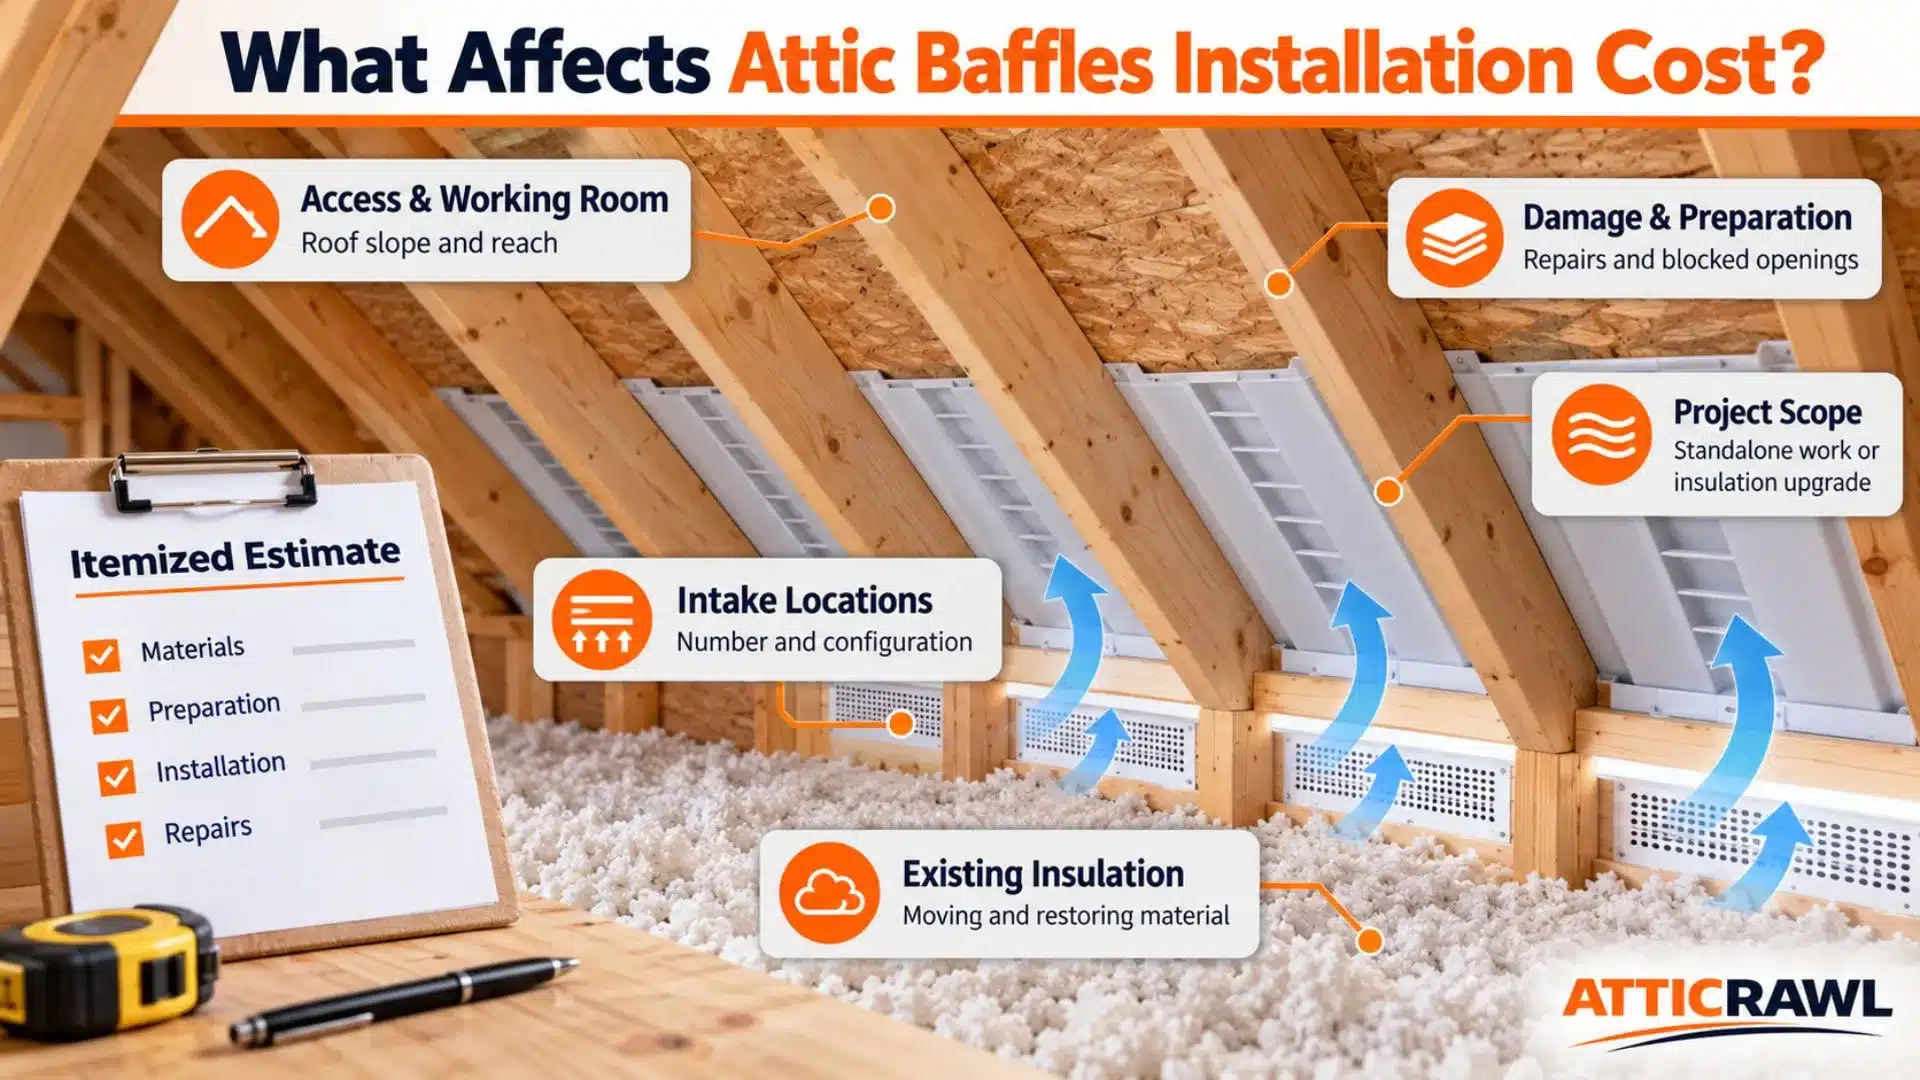
What Affects Attic Baffles Installation Cost?
The total depends on materials, labor, access, and the preparation needed before the channels can be fitted. A low shelf price for one chute tells you little about a difficult attic job.
These are the main cost factors:
- Intake locations. Their number and configuration determine the work involved.
- Access and working room. Low roof slopes and awkward entry points slow installation.
- Existing insulation. Material may need to be moved and carefully restored.
- Damage and preparation. Broken components or obstructed openings can require extra work.
- Project scope. Combining the work with an insulation upgrade can change the labor involved.
We recommend an itemized estimate that identifies the proposed products, preparation, installation, and any repairs. Ask what happens if concealed damage appears once work begins.
How Atticrawl Can Help With Your Attic Insulation Project
If your estimate is unclear, the eaves look obstructed, or existing attic materials are damaged, a home assessment can help establish what work is needed.
At Atticrawl, we offer professional attic insulation installation throughout New Jersey and eastern Pennsylvania. Our related services include insulation removal, air gap sealing, and attic cleaning when those tasks are relevant to the project.
During your visit, raise any concerns about baffles and soffit clearance so they can be discussed alongside the insulation plan. Ask which preparation tasks are included and how the proposed work suits your attic’s arrangement.
Request a free home visit and estimate to understand the recommended work before deciding how to proceed.
FAQs
Can You Add Baffles to an Attic That Already Has Insulation?
Yes, if the attic design and access allow it. Usable insulation can often be moved aside, so complete removal isn’t automatic. Damaged or contaminated material needs separate assessment. Our attic insulation removal and replacement process explains what broader replacement work involves.
What Are Soffit Baffles Made Of?
Common options include cardboard, molded foam, and plastic. The best attic baffles suit the framing, remain sufficiently rigid, and match the expected exposure conditions. Check the product’s installation requirements too, because material alone doesn’t tell you whether it suits your attic.
Do Baffles Go in Every Rafter Bay, and How Many Do I Need?
Continuous soffit vents generally need baffles in every bay, but spaced vents need them at their intake locations. Count those locations, then allow additional pieces for extensions. That gives a material quantity, while the attic’s overall intake and exhaust provision still needs checking.
How Long Should Attic Baffles Be?
Baffles must extend above the finished insulation level. DOE describes typical lengths of 2-4 feet because enclosed insulated rafter channels need a continuous ventilation route. For an open attic, establish how much attic insulation you need before selecting the chute length.
Can You Make Your Own Baffles or Use an Alternative?
Yes, homemade attic baffles can work with appropriate materials, secure support, and a suitable design. Any attic baffle alternatives must maintain a stable, unobstructed passage. A material’s ability to fit the gap alone doesn’t establish that it can safely perform the job.
Can Attic Baffles Be Installed From Outside?
Installing attic baffles from outside is sometimes possible during suitable soffit or roofing work. Feasibility depends on the framing, access, and chosen product. Have the approach assessed before components are opened, so the work accounts for secure installation and proper restoration.



Recent Comments